Follow

Wednesday, November 21, 2018

Thanksgiving Turkey -- low and slow

We've been having a lot of luck with cooking meat in a low, slow oven - 180º-200ºF.  It turns out moist, delicious, and done perfectly.  Although, I must admit we have not figured out the timing, so it's often done way early.

We decided to try it for a turkey.  We thawed a butterball turkey, 12 pounds, and at 10PM put it in a 425º oven for 10 minutes, then covered it with foil and turned the oven to 200º and left it overnight.  We woke up to the smell of roast turkey.  At 10AM, the bird was at an internal temperature of 175º, (You can see what I mean about timing. . . ) so we uncovered it and turned the temp to 400º to brown it, and we were done!

It was excellent.  Tender, moist, delicious.

The other experiment was cranberry sauce.  I had made cranberry muffins and had 1/3 of a bag (4 ounces) left.  I decided to try a no-sugar cranberry sauce, using Splenda™.  Cook 1/3 of a bag of cranberries with 1/3 cup Splenda™(8 packets) and 1/3 cup water until the berries burst.  I strained some for jellied and kept the rest as whole-berry.
It was good.

Looking forward to turkey sandwiches, I had made whole-wheat rolls:
The recipe is here.  https://muddleaged.blogspot.com/2016/11/whole-wheat-rolls.html
It's actually 1/3 bread flour, 1/3 whole-wheat pie and pastry flour, and 1/3 stone-ground whole wheat.

We hope you enjoy your day!

Here are the cranberry muffins.
We originally made them with red currants, but, alas, the currants (even the frozen ones) are all gone.
The recipe is from joyofbaking
https://www.joyofbaking.com/muffins/ButtermilkBerryMuffins.html#ixzz5MBH3ETmm

Buttermilk Berry Muffins:
2 1/2 cups (325 grams) all-purpose flour
3/4 cup (150 grams) granulated white sugar I used brown sugar
2 teaspoons baking powder
1/2 teaspoon baking soda
1/4 teaspoon salt
Zest of one orange or lemon

1 1/2 to 2 cups (360-480 ml) fresh or frozen berries (blueberries, raspberries, or blackberries)


1 large egg, lightly beaten
1 cup (240 ml) buttermilk I used powdered buttermilk
1/2 cup (120 ml) safflower or canola oil I used grapeseed oil.

1 teaspoon pure vanilla extract

375º  
20-25 minutes


Saturday, January 20, 2018

It's Not a Chicken


Here I've been calling it a chicken.  Turns out that it is really a feng or a feng huang.  Who knew?


We found this on eBay.  Here's what the seller had to say:
Description: This is a 19th Century, Qing [Ching] Dynasty, Chinese, embroidered, door
valance, Circa 1880’s. Used as interior, decorative accents for theatersets such as the Chinese
Peking opera. Such valances were often crafted from sturdy materials, embellished via bold
colors and large symbols/imagery, and purposely exaggerated to be visible from a distance.
Characteristics of this truly amazing piece includes: A handsome, centrally placed bird set
among peach blossoms and flora; prominent use of couched gold metallic thread as well as
couched cording; lightly spun silk thread accents/details; dimensional details rendered via
twisted paper cording placed underneath the metallic threads; beige, silk edging adorned
with mirrors in order to attract and reflect light; and rabbit fur edging. This valance is backed
with blue, cotton fabric. Exquisite in nature, it would make a striking statement as a
decorator’s piece on any feature wall. It is a must­have!! Please note, this valance shows
signs of wear commensurate with age and use including silk breakdown, loss of thread, loss
of fur edging, loose threads, missing/damaged mirrors and staining. Additionally, minor
restoration has occurred to include stabilization of some of the metallic threads.
Dimensions: 45.5” x 23.5”


Wikipedia describes it:  A common depiction of fenghuang was of it attacking snakes with its talons and its wings spread. According to the Erya's chapter 17 Shiniao, fenghuang is made up of the beak of a rooster, the face of a swallow, the forehead of a fowl, the neck of a snake, the breast of a goose, the back of a tortoise, the hindquarters of a stag and the tail of a fish.[1] Today, however, it is often described as a composite of many birds including the head of a golden pheasant, the body of a mandarin duck, the tail of a peacock, the legs of a crane, the mouth of a parrot, and the wings of a swallow.

Sure looks like a chicken, but perhaps it does have a parrot beak.  Do you see the other animals?

Wikipedia provides more information:
Fenghuang  are mythological birds of East Asia that reign over all other birds. The males were originally called feng and the females huang but such a distinction of gender is often no longer made and they are blurred into a single feminine entity so that the bird can be paired with the Chinese dragon, which is traditionally deemed male.
The fenghuang is also called the "August Rooster"  since it sometimes takes the place of the Rooster in the Chinese zodiac. In the West, it is commonly called the Chinese phoenix or simply Phoenix, although mythological similarities with the Western phoenix are superficial.
Now you know!
Some restoration may be wise.  We'll see.  

It's mounted to a rod and hung in a corner away from sunlight.
It should not deteriorate any further, and it's not where it would be touched or bumped.

Definitely adds drama to that corner!

Can you imagine all that fine stitchery for a backdrop for a theater!


Monday, January 15, 2018

Why So Slow???


To stabilize the coverlet and make it usable takes a lot of time and careful stitching.  Also, remember sewing is not one of my talents.  My hands are awkward and clumsy.  And the coverlet is fragile.

Here's an example of what needs to be done.
I am tacking from the blue paper going down.  The hole is less than two inches long.


You may notice the color is different.  
In the time I was stitching, the sun moved away from the window, so the light is different.


There are some places where I can just do long running stitches, but where needed, I am trying to tack, stabilize, and pull together at the same time.

Lots to do!

It's a lot of work, but it will make it possible to enjoy it for years to come.


Wednesday, January 10, 2018

Stabilizing a Lace Coverlet - 50 Inches a Day


50 inches a day!

We found an amazing bit of handwork.  It's almost a sampler.
It measures 76 x 84 inches.

There is a huge variety of patterns.
I have not counted the number of distinct designs.
The large squares are 6 by 6 inches.


They are held together by strips of linen with cutwork and crochet.
The rectangles are 3 by 6 inches.  The small squares are about 3 x 3.

 Alas, much of the linen is shattered.  Seams are pulling apart.  And the crochet is falling apart in places.

In order to be able to see and to use it, we decided to tack it to a background sheet to stabilize it.  I began the tacking today, and that's when I learned I can do 50 inches a day.  If I do that every single day, this will be finished in less than three months.


Did you wonder how we decided on the background?

We tried it with a dark background.  The contrast was clear, but the color was distracting.

We tried it with a white background, and you could not really see the work.  And that's the whole point.

So we settled on a chartreuse green.  This will go in a bedroom with beige and white curtains and beige walls.  Very restful.  It would have made a stunning tablecloth, but it is too fragile to stand up to laundering.  So it will be a summer bedcover.

I will need to talk to my crafty buddies.  Is this crochet?  Tatting?


Wednesday, November 22, 2017

Making your own Altoids®


We used to go through a lot of Altoids®.  I was not able to find a decent copycat recipe, so I invented my own.  This makes about 20 tins, with about 180 calories per tin.  (We ended up with lots of tins that I was able to use once we were satisfied with this recipe.)  These satisfy a sweet tooth with not too many calories.

First gather the equipment needed:
bench scraper
pan scraper
1/2 cup measure
small stainless bowl
small wire whisk
pizza wheel or pie crust cutter
teaspoons
rolling pin


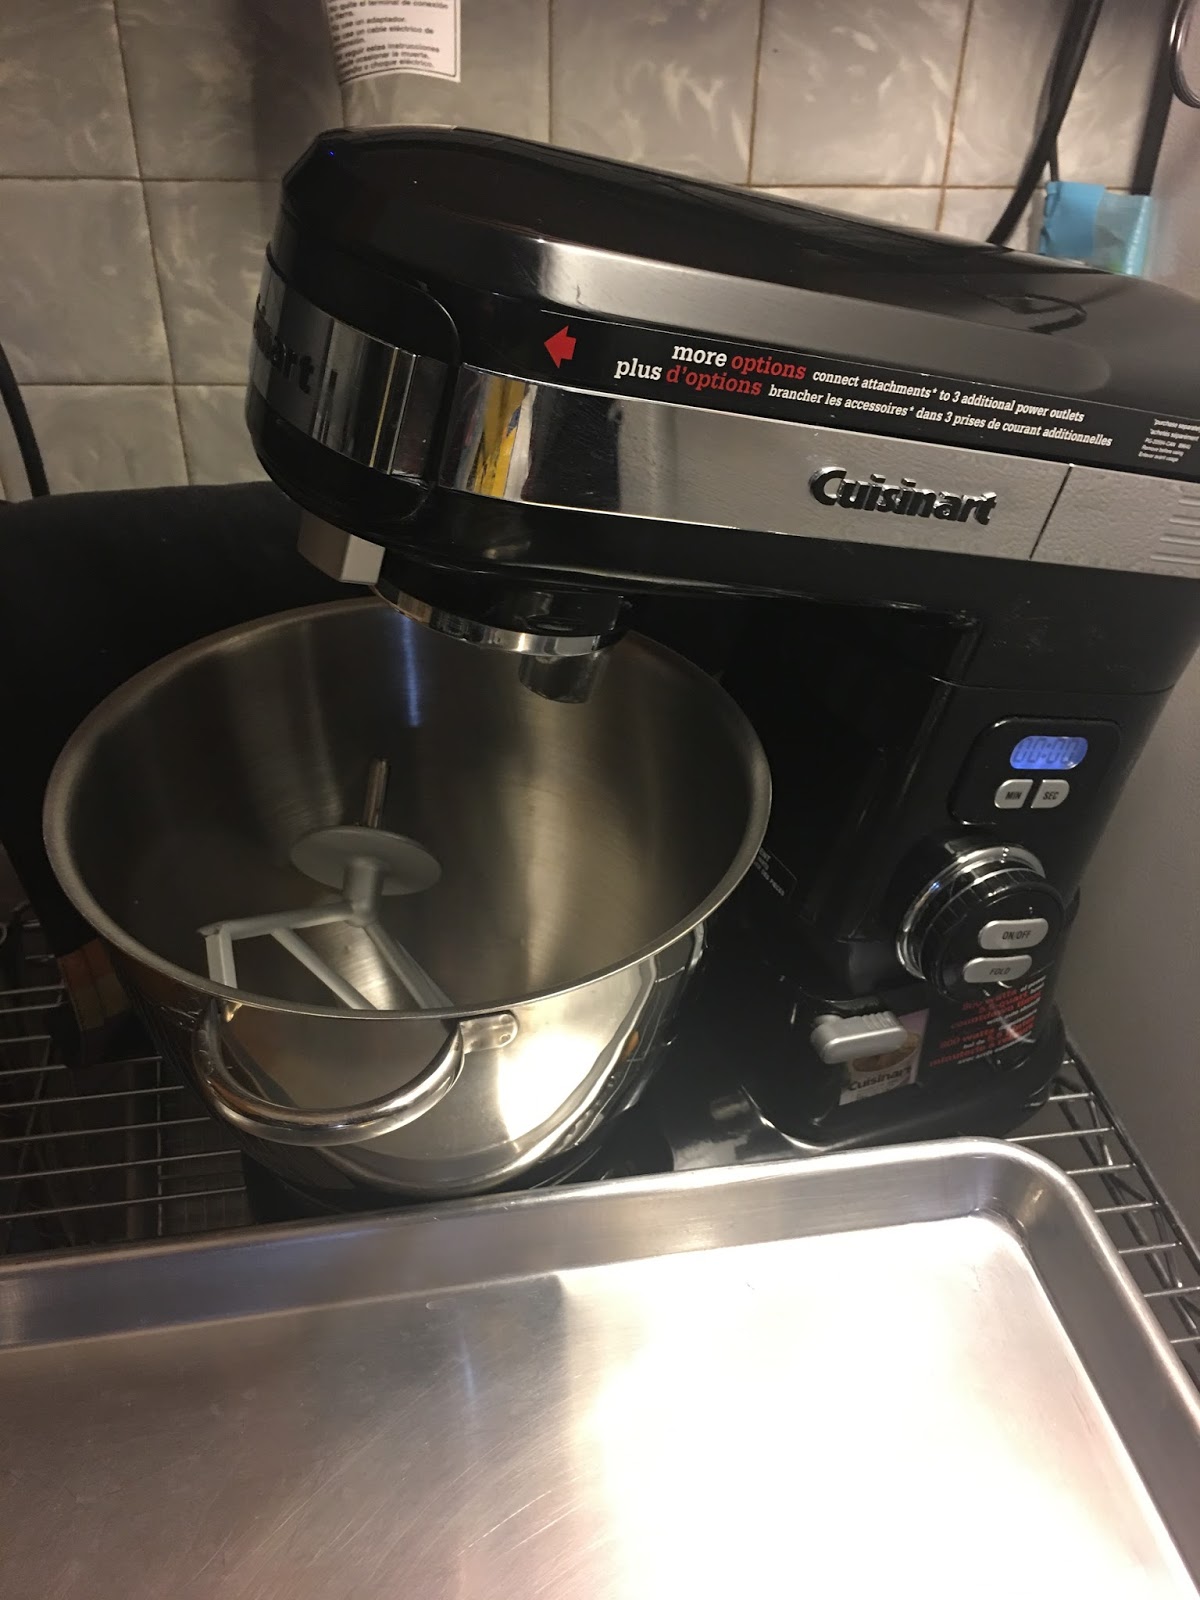
heavy duty stand mixer (mine is Cuisinart) with paddle
3 cookie sheets

Ingredients:
1/2 cup cool water in the stainless bowl
4 teaspoons gelatin
       After this has softened, melt over low heat to fully dissolve.


1/2 teaspoon Xanthan gum 
Then whisk like mad to get out the lumps.  Xanthan gum likes to clump.
  

Put two teaspoons peppermint oil into the stand mixer bowl.  Make sure you buy food quality pure oil.  I made the mistake of using another that was peppermint in a strange oil.  Nasty.  Extract will not work.  You must use oil.  The little bottles of Loran oil will work - use two whole little bottles or more.  I make this often enough to justify the large bottle.

You will probably use slightly less than 2 pounds of powdered sugar.
I hold back about two cups from a two-pound bag to begin, and then add until it is a texture that is not too sticky to roll out.  `

I prefer to work on a cookie sheet than on the counter.  I worry about the oil being absorbed into the counter.  I sprinkle some of the reserved powdered sugar onto the cookie sheet to keep the candy from sticking and sprinkle some on top, too.  Then roll it out like pie dough.  About that thick, too.


 Then cut it with a pizza wheel or piecrust cutter.  We like the ruffled edges of the pie cutter.


Use the bench scraper to transfer the squares to another cookie sheet to dry.  Two pounds of sugar needs three cookie sheets (the half-sheet pan {18" x 13"}) to dry.  My house is not very dry much of the year, so I put the cookie sheets in the oven with the light on, and they dry in two to three days.  Then they can be stored in tins.

I did see a recipe once that suggested getting a straw from bubble tea (it's a large diameter), and use it like a cookie cutter.  You would have nice round mints.  Much too fussy for me.  We'll live with squares!

Sunday, November 12, 2017

Cookies - Royal Icing


Every few years I forget that I am unartistic and uncoordinated.  I watch videos on icing cookies and I think, "I can do that. . ."

My student, Gina, made wonderful cookies for Halloween.  She shared one, but I ate it before I thought to photograph it. . . Perhaps that's good, since I have no proof of excellence!  But I was inspired to try my hand.

I used Gina's recipe:

Sugar Cookie Recipe

3 c flour
1 c sugar
1 1/4 t baking powder
1/4 t salt
2 sticks butter
1/2 t vanilla
1/2 t lemon extract
1 egg
2 oz cream cheese

mix, chill, roll, cut

350º, 12 minutes

It's Great!

I rolled out about four dozen cookies.

When they cooled, I made royal icing and colored some brown:

For the Royal Icing, I used meringue powder with water and powdered sugar, using the proportions on the meringue powder container.


The next day, I made blue and green frosting.  Handling the piping bag is a bit of a challenge, as you might guess from the pictures.  Also, it's a challenge getting the right consistency.

Next day brought the red icing - it looks kind of pink.  .  .  I am using concentrated color, and a little goes a long way.  Looks like I'm getting better at "flooding", but lines are still a challenge.

The following day I added the white.  I kept it thicker so that I could make "stars".  I also dusted some of the white with white or green sugar crystals.  I think the crystals may be useful for hiding mistakes.

Next is yellow. . .
And chartreuse


All done. . . 

I guess you don't need talent to have fun.

~ ~ ~

The beginnings of batch two:

Ain't we got fun. . . 

And now we're done:

And we had a good assortment to take to a "covered dish".

That was fun!


Pizzelle - Part Two

I blogged about the pizzelle I made a year ago.
http://muddleaged.blogspot.com/2016/12/pizzelle.html
They were not quite right - heavy and cakey.

Today we're testing out the new cart and a new recipe.

I wanted a movable work place in the kitchen.  One day, I lucked out on an Amazon Warehouse deal on a commercial cart.

It's title is:  "Metro MW Series Chrome Plated Wire Utility Cart, 3 Shelves, 375 lbs Capacity, 36" Length x 21" Width x 39" Height".  It was easy to put together.  Very sturdy.  Now, will it do what I want?

I need a work surface that is about table-height.  I think it's hard to work on a counter - tough on the arms and shoulders.  But the kitchen table is across the room from the cooking supplies.  Also, because the mixer is so heavy, it would be nice to have it live where it will be used.  This cart is the right height and the right location.

 This setup turns out to be excellent.  My back is to the kitchen sink and counter.

The drawer behind me holds baking tools - the portioner, skewers, measuring devices, scrapers.
The shelves on the cart hold flours and sugars.  The counter behind me holds the microwave.  Just need to get the eggs and butter from the refrigerator.

The pizzelle iron is probably at least 50 years old.  The cord has been replaced several times, but it still works well.


The recipe I used this time:

yield: ABOUT 30 PIZZELLES  

INGREDIENTS:
3 large eggs
3/4 cup granulated sugar
1 1/2 teaspoons whole anise seed
1 teaspoon vanilla extract
1/2 teaspoon anise extract
1/2 cup (1 stick) unsalted butter, melted and cooled slightly
1 1/2 cups all-purpose flour
2 teaspoons baking powder
a pinch of kosher salt


may need an extra 1/2 cup flour